
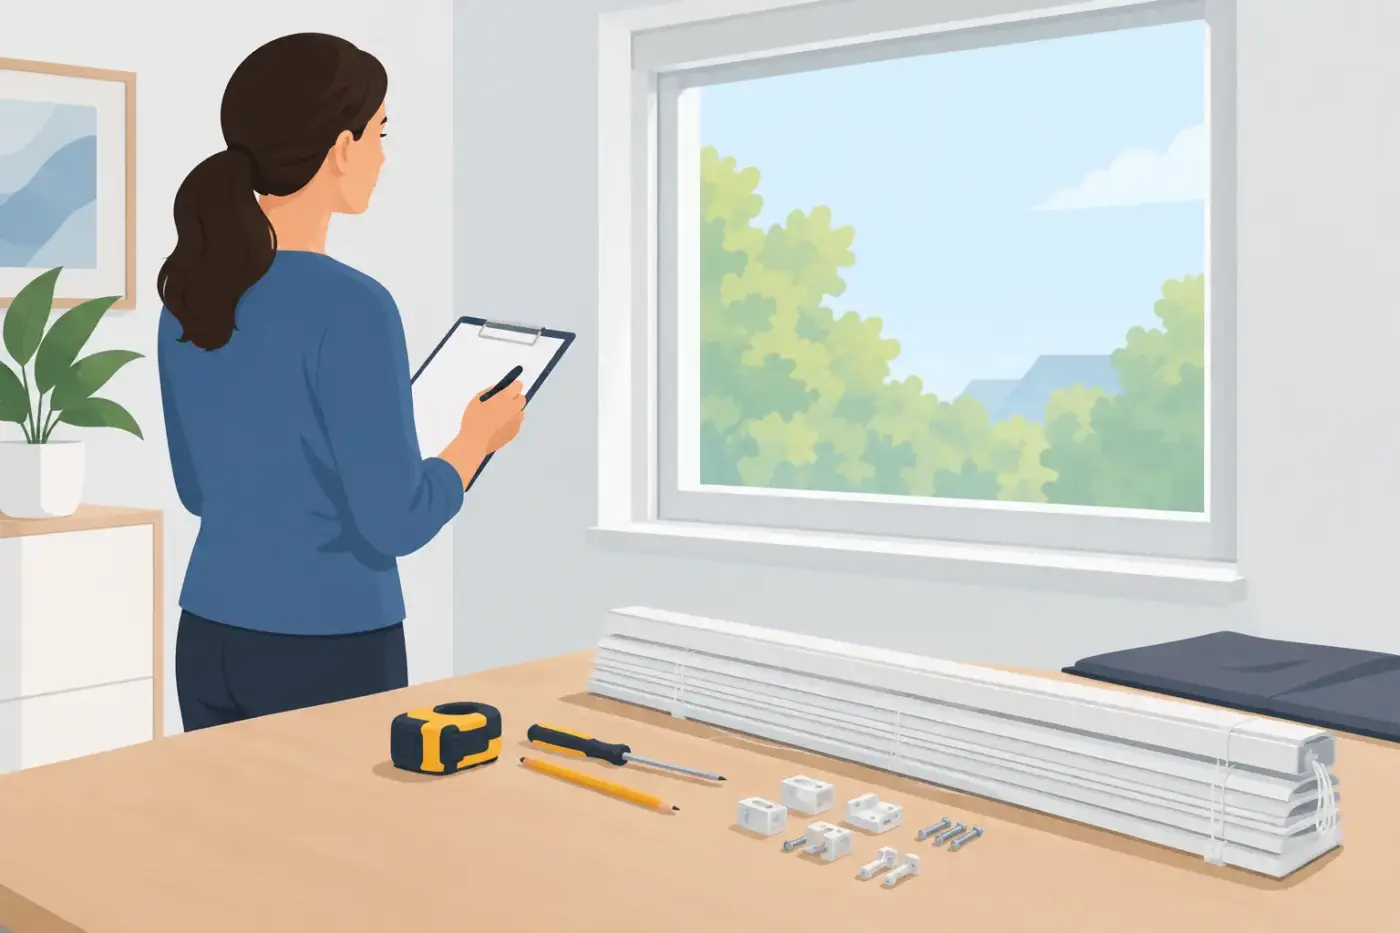
A beautiful window treatment can look like a small finishing touch, but the best results begin well before installation day. Thoughtful blind installation preparation helps protect your home, keeps the appointment efficient, and gives your new blinds or shades the clean, tailored fit they were designed to have.
For homes in Northwest Colorado, preparation also means considering the realities of mountain living: strong sun at elevation, changing temperatures, deep window openings, natural wood trim, and views worth preserving. A little planning lets the installer focus on the details that matter most – secure mounting, smooth operation, and a finished look that feels at home in the room.
Start With the Decisions That Affect the Install
By installation day, the product, fabric or finish, mounting style, and operating system should be settled. Still, it is useful to revisit the decisions that shape how the treatment will sit at the window.
An inside mount is installed within the window opening. It creates a tidy, built-in appearance and can highlight attractive trim. It does require sufficient depth and a reasonably square, unobstructed opening. An outside mount sits above or beyond the opening, often covering more of the wall area. This option can make a window appear larger, improve light control, and work around shallow openings or window hardware.
The right choice depends on the window itself and what the room needs. Bedrooms may benefit from the extra coverage of an outside-mounted blackout shade. In a living room with generous wood trim and a view of the slopes, an inside-mounted solar shade may offer glare control without visually crowding the window. There is no one mounting style that suits every room.
If you have made recent changes since the in-home consultation, such as replacing trim, adding a window seat, installing new hardware, or choosing a different paint color, share that before the appointment. Small changes can affect clearances, placement, and the way a chosen fabric or finish reads in the space.
Clear Access Around Every Window
Installers need safe, direct access to each window, including enough room for a ladder and tools. Before the appointment, move furniture away from the window whenever practical. A few feet of working space is ideal, particularly around tall windows, sliding doors, and treatments that span multiple openings.
Remove fragile accessories from window sills, nearby shelves, and console tables. Plants, lamps, framed photos, and seasonal decor can be temporarily relocated. Curtains or temporary coverings should also come down unless you have been asked to leave them in place for a specific reason.
For windows behind beds, sofas, or heavy dining furniture, do not worry if moving an item requires extra hands. Let the installation team know in advance. The goal is not to turn your house upside down. It is to identify areas where a little coordination will make the work safer and more efficient.
Pets and young children should be kept comfortably out of the work area. Installation involves tools, ladders, packaging, and open access to doors and windows. Planning a quiet room, a walk, or an outing during the appointment can make the day easier for everyone.
Inspect the Window Area Before Blind Installation
A quick walk-through can catch obstacles before installers arrive. Look closely at the top of each opening and the wall or trim surrounding it. Note anything that may affect bracket placement, such as decorative molding, sprinkler sensors, security contacts, window cranks, tile, or unusual trim details.
Window operation matters, too. If a casement window has a crank handle, a shade may need to sit at a particular height to avoid interference. Sliding glass doors need treatments designed to stack clear of the opening. French doors often require attention to handle clearance and hold-down hardware. These are normal design considerations, but they work best when identified early.
It is also wise to make sure windows close and latch properly before new treatments are installed. A blind or shade will not cause a sticking window, but it can make an existing issue more noticeable once the treatment is in place. Addressing repairs beforehand helps protect your investment and preserves everyday convenience.
Check for Moisture or Surface Concerns
In bathrooms, laundry rooms, kitchens, and near patio doors, examine the mounting surface for moisture damage, loose drywall, or peeling paint. The treatment may be perfectly suited to a humid space, but the brackets still need a sound surface for secure installation.
If you have recently painted, stained, or refinished trim, allow enough curing time before installation. Fresh finishes can be vulnerable to marks or impressions, especially where brackets meet the surface. When in doubt, mention the timeline during scheduling so the installation can be planned appropriately.
Make Sure Power and Smart-Home Details Are Ready
Motorized shades bring welcome convenience to tall windows, hard-to-reach areas, bedrooms, and rooms with changing light throughout the day. They also require a little additional blind installation preparation.
For hardwired systems, electrical work should be completed before installation. Confirm that power is available where specified and that outlets, wiring, or low-voltage connections are accessible. If the shades use rechargeable battery wands or replaceable batteries, ask where the charging point or battery tube will sit so it remains convenient without becoming visually distracting.
If you plan to connect motorized treatments to a smart-home system, have relevant account information, Wi-Fi access, and device passwords available. Reliable Wi-Fi is especially helpful for app-based controls. In larger homes or properties with thick walls, signal strength can vary from room to room, so it is worth checking the intended windows rather than assuming coverage will be equal everywhere.
Motorization is not necessary for every window. A manual shade can be an excellent, simple choice in a guest room or at an easily reached window. The best operating system is the one that matches how you actually use the room.
Consider Privacy, Light, and Daily Use One More Time
Installation day is a good moment to think through how each room will function once the treatments are in place. This is less about second-guessing your choices and more about setting expectations for operation and adjustment.
For example, solar shades reduce glare and soften bright sun while maintaining an outward view during daylight hours. At night, however, they may not provide the same privacy as a more opaque shade. Cellular shades can add insulation and privacy, while wood blinds offer flexible light direction and a warm architectural presence. Layered drapery can bring softness and fuller coverage, particularly in bedrooms and gathering spaces.
Colorado sun can be intense, even on cool days. If a room has artwork, wood floors, leather furnishings, or a television affected by glare, ask the installer to demonstrate the best positions for everyday light control. A short demonstration can make a major difference in comfort and help you get the most from the treatment from day one.
Plan for the Details After Installation
Once the installation is complete, take a few minutes to see every treatment operate. Raise and lower shades, tilt blinds, test any motorized controls, and ask about charging or battery replacement if applicable. This is the time to confirm that you understand safety features, wand placement, and the correct way to clean the material.
Keep product information and care instructions in an easy-to-find place, especially for a second home or rental property where more than one person may operate the treatments. For vacation homes, consider who will manage motorized controls, battery charging, or seasonal adjustments when you are away.
Professional installation is about more than attaching brackets to a wall. It is the final step in a custom process that accounts for the window, the room, and the way your home is lived in. At Ben’s Blinds, careful measuring and installation planning help take the uncertainty out of that process.
Before the appointment, focus on clear access, sound mounting surfaces, and any changes to the room or your preferences. Then leave space for the satisfying part: watching a well-chosen window treatment settle into place and make the room feel more comfortable, private, and complete.
Comments are closed