
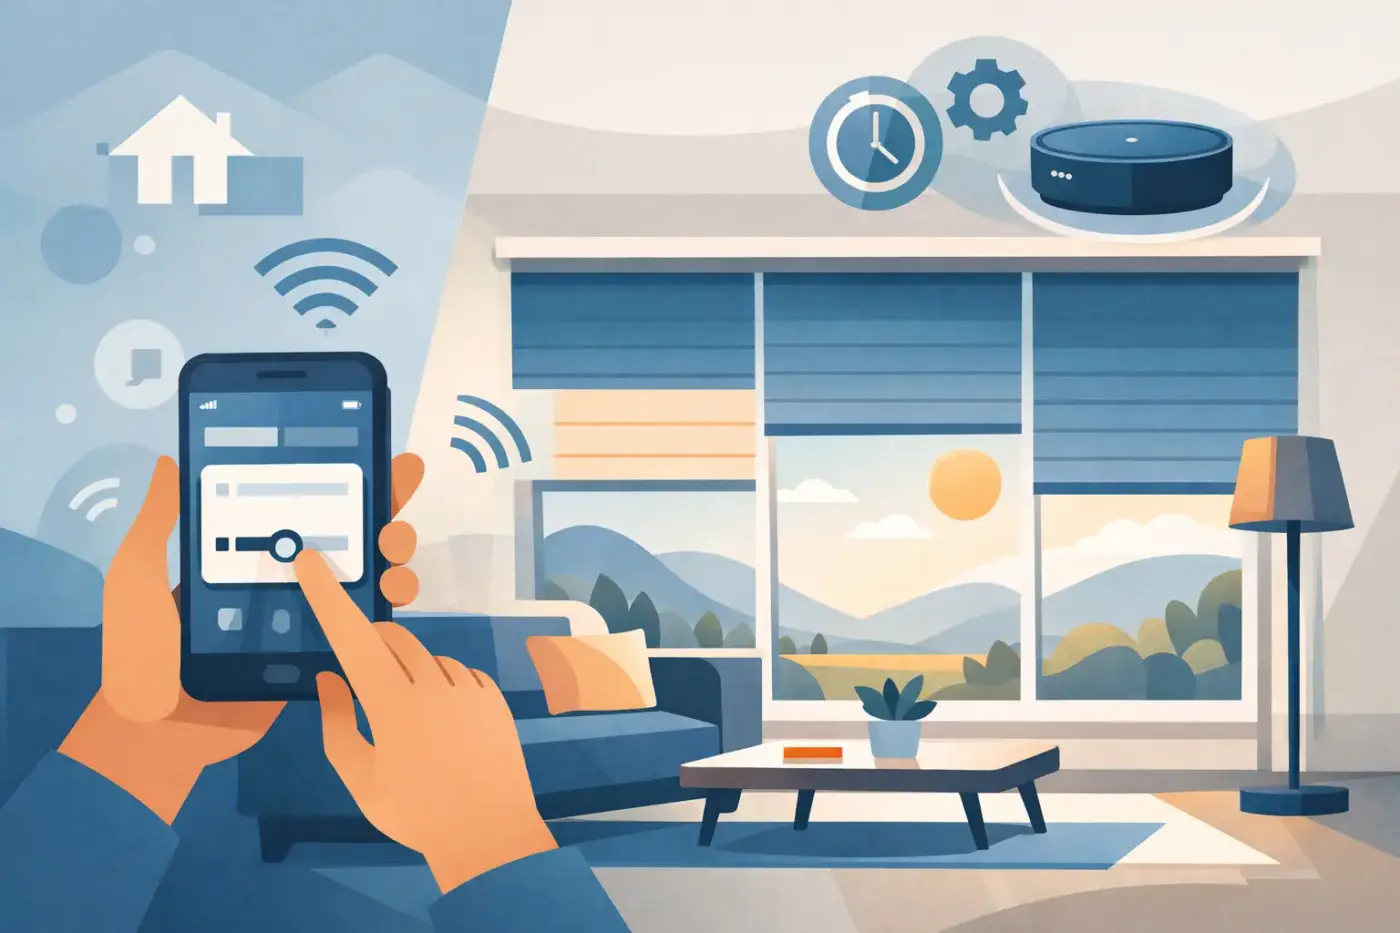
A shade that stops two inches short of the sill, opens in the wrong direction, or ignores its remote can make a sophisticated window treatment feel needlessly frustrating. Learning how to program automated shades starts with understanding what your particular system needs: accurate travel limits, a paired control, and settings that reflect how you actually use each room.
For mountain homes, programming is more than a convenience feature. Thoughtful schedules can soften intense afternoon sun, protect furnishings from UV exposure, preserve privacy after dark, and support better insulation during cold winter evenings. The exact buttons and app screens vary by manufacturer, but the setup process follows the same practical sequence.
Start With the Shade Type and Control System
Before changing any settings, identify how your shades are powered and controlled. Battery-powered shades, hardwired motors, plug-in motors, and solar-assisted systems may all use different pairing and programming methods. A hand-held remote, wall-mounted keypad, home automation hub, or phone app may also control the same shades in different ways.
Find the manufacturer instructions that came with your installation and confirm the motor or shade model. This matters because a button sequence intended for one motor can erase settings or place another model into a factory-reset mode. If the shades were installed as part of a whole-home system, avoid resetting anything until you know whether the motor is connected to a central hub.
It also helps to check the basics first. Make sure the shade has power, battery tabs have been removed, and batteries are fresh if applicable. If a battery-operated shade responds slowly, stops midway, or works inconsistently, replace the batteries before assuming it needs to be reprogrammed.
How to Program Automated Shades: Set the Travel Limits
Travel limits tell the motor where the shade should stop at the top and bottom of its path. These positions are often set during professional installation, but they may need adjustment after a battery change, a reset, or an interior update that changes how you want the shade to sit.
Begin with a clear window area. Move furniture, lamps, or décor away from the treatment so nothing interferes with the shade. Use the assigned remote or app to select one shade at a time. On many systems, you enter programming mode with a small button on the motor head, a recessed button on the remote, or a specific press-and-hold sequence.
Once the shade is in programming mode, raise or lower it to the desired upper position. For a roller or solar shade, that may mean stopping just below the cassette or fascia. For cellular shades, it may mean bringing the fabric stack neatly into its intended headrail position without forcing it upward. Save the upper limit according to the manufacturer’s instructions, then repeat the process for the lower limit.
The bottom position deserves a careful look. A shade can stop at the sill for maximum privacy and light control, or it can stop slightly above the sill if a deep sill, handle, or piece of trim makes that a better fit. On doors or frequently used windows, leave enough clearance so the fabric and bottom rail will not catch on hardware.
After saving both limits, run the shade through a full open-and-close cycle. Watch for rubbing, uneven movement, or a bottom rail that lands crookedly. Programming corrects the motor’s stopping points, but it will not solve a mounting issue, an obstructed bracket, or a shade that is out of level.
Pair the Remote, App, or Wall Control
A motorized shade must be paired with the control you intend to use. In a single room, that may be a remote with individual channels. In a larger home, it may be a wall keypad and a mobile app that organize shades into rooms, scenes, and schedules.
Pair one shade first, then test it before moving on. This small step prevents a common problem: accidentally pairing every nearby shade to the same channel. If several shades are intended to move together, create a group only after each one responds correctly on its own.
Give channels and groups names that will still make sense months from now. “Living Room West Windows” is more useful than “Channel 4.” For homes with multiple floors or similar rooms, clear labels make it much easier for family members, guests, or property managers to use the system confidently.
If your shades connect to an app, keep the app and hub software current. App-controlled treatments may need a stable home Wi-Fi signal, while some use a dedicated bridge that communicates separately with the motor. Wi-Fi issues can affect app access without changing how a local remote operates, so test both before troubleshooting the motor itself.
Create Groups That Match Daily Life
Groups are where automated shades begin to feel genuinely useful. A bank of windows facing the same direction can operate together, while a bedroom, media room, or office may benefit from its own control. The right organization is based on exposure and routine, not simply on which windows happen to be in the same room.
For example, east-facing bedroom shades may belong in a morning group, while west-facing living room shades may need a separate afternoon group to reduce glare. In a great room with tall windows, you might create one group for upper shades and another for lower shades, allowing daylight to remain while improving privacy.
Build Schedules Around Sun, Privacy, and Comfort
Once limits and controls are working, schedules are usually the most rewarding part of programming. Start simply. Set one reliable routine, live with it for several days, and adjust from there rather than programming every possible scenario at once.
A useful weekday schedule might raise bedroom shades after your typical wake-up time, lower sun-facing shades before direct glare becomes uncomfortable, and close main-floor shades around dusk. Some systems offer sunrise and sunset scheduling, which is especially helpful in Colorado, where seasonal daylight changes dramatically.
Consider the fabric and openness of the shade as you create schedules. A solar shade may reduce glare while preserving a view, so it can be lowered earlier in the day than an opaque room-darkening shade. Cellular shades can add insulation when closed, making them a practical choice for overnight comfort in rooms with large expanses of glass. Sheer shades offer a softer approach to daylight but may not provide the same nighttime privacy as a more opaque fabric.
Automation should support your habits, not dictate them. A home that is occupied primarily on weekends needs different settings from a full-time residence. Second-home owners may appreciate a vacation schedule that gives the property a lived-in appearance while protecting interiors from strong sun. For commercial spaces, opening and closing schedules can support employee comfort while helping reduce glare on screens.
Use Scenes Instead of Overcomplicating Schedules
A scene combines several shade positions into one command. It is often more flexible than a rigid schedule because you can activate it when circumstances change. “Movie Time” might lower media-room shades and close adjacent glare-producing windows. “Evening Privacy” might lower main living-area shades while leaving a kitchen window partially open for a view.
Keep scenes practical and easy to remember. Two or three well-chosen scenes are more likely to be used than a long list of vaguely named presets. If your system allows favorite positions, set one for the level that blocks direct sun but still keeps the landscape visible.
Troubleshoot Before Resetting Everything
When an automated shade stops responding, a full factory reset is rarely the first answer. First, verify power and batteries, check that the correct remote channel is selected, and make sure the shade is not blocked by furniture or a window handle. Then test whether the issue affects one shade, one group, or the entire system.
If the shade moves but stops too soon, review the travel limits. If it responds to a remote but not the app, the issue may be the hub, internet connection, or app permissions rather than the shade itself. If several shades are operating unexpectedly together, check group assignments before attempting to erase and re-pair them.
Factory resets can be helpful when a motor has lost its programming or when a control must be fully reassigned. They can also remove carefully built limits, groups, and schedules. Use the manufacturer’s exact reset instructions, and plan to reprogram the shade from the beginning afterward.
For custom treatments, professional help is worthwhile when movement is uneven, the shade is making unusual noise, brackets appear loose, or a hardwired system has a power concern. The goal is not merely to make the shade move again, but to protect the fit, fabric, and motor that were selected for your window.
The best automated shade settings tend to disappear into daily life: the room stays comfortable, the glare is controlled before it becomes annoying, and privacy arrives when you want it. If you are planning a new motorized treatment or need help fine-tuning an existing one, Ben’s Blinds can help you match the controls, fabric, and programming approach to the way your home is actually lived in.
No responses yet